LB Toolkit, or how I recreated some already existing tools
I've always been fascinated by Electron apps. The power to use the same skillset used in web development to create desktop applications, writing your code once and running in a vast variety of platforms. Most of the apps I use day to day are built using this technology, heck, I'm writing this article from one. So, there had to come a time when I finally built one myself! How did it happen?
The (lack of) need
LB Toolkit came pretty much out of boredom. Finding myself in a situation where I had a lot of time to spare, and pretty much nothing but a computer at hand, I started looking for a project to keep me sane and entertained. Naturally I gravitated towards the creation of some app or website, but this time it was different: I had the goal that it had to be something actually useful.
So, my attention went to the myriad of little tools and programs I use in my everyday windows machines. There's PowerToys, that I keep installed pretty much only to use the color picker feature. There's Taskplay, very useful if you almost always have some music playing (like me).
I started to envision a tool-to-rule-them-all, something that avoided the need to download and keep updated a bunch of software in every machine. So, I started to build it.

Desire for tech
The second goal was that it had to be fun: I started looking for ways to build it using the most fun and exciting tools and libraries. Here comes Electron: wouldn't it be fun to create a desktop app using the same core technologies that I already know and like working with? Despite being sometimes seen as slow, heavy, and unnecessary, I was sure that there was a way to make it fast and nimble.

And with the web ecosystem, the choice of React was preatty easy to do. So I started building.
General architecture
The final architecture is the culmination of a lot of work and revisions, and from my point of view it is the optimal one, at least for this use case. It is heavily based on electron-react-boilerplate, so if you're familiar with that, nothing should look unfamiliar.
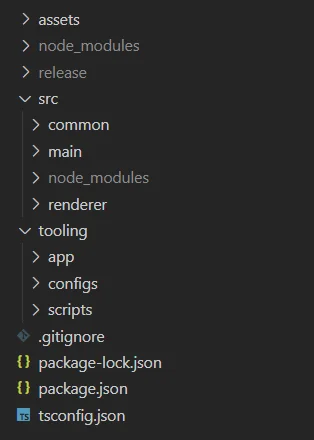
A tale of two buildlands
The main goal of the architecture was to homogenize the development experience: Electron forces you to have a separate renderer and "server" process, each having its js context and capabilities. You risk having two separate development environments: the project was started by simply using typescript with create-react-app as a frontend framework, and plain old javascript to build the backend. This quickly grew to be unmangeable, as in many places the code was duplicated and I had to continually switch mindsets when moving from one file to the next.
So I started looking for better solutions to unify the environments, and I stumbled upon the solution provided by electron-react-boilerplate (ERB): writing one single typescript codebase, and having webpack do the heavy lifting of preparing the two javascript recipes.
A heavy backpack
It was clear from the start that I couldn't simply install ERB and be good to go: it comes with the assumption that one should start a new project from scratch when using it, and my project by then was already far from being restartable. So, I created a new folder with ERB in it, and simply tried to pull in as many files from the old project as possible.
Did it work? Not at first. Here's some of the most interesting aspects I had to work on:
Import() and webpack
I needed to import the package clipboard-event. It is an ES package, meaning that it can't be imported using a require statement, that Electron supports. This would not normally be a problem, since we are using webpack, but this being a package with native components, it had to be excluded from the webpack bundle. The normal way to import an ES module from a RequireJS module is by using the await import() function. Only, in normal webpack convention this is used to indicate to the bundler that you want to split your code in a different bundle. So? The solution was to use the webpack directive /* webpackIgnore: true */ inside the import brackets, telling webpack to trust us in what we want to do.
Package system
ERB uses electron-builder to build the package, spitting out a windows executable with the NSIS plugin. This posed a bit of a problem: I wanted to script some of the installation steps in the same way that I script the rest of the project, via Javascript. The steps I needed to script were the creation registration on login and the creation of the desktop shortcut. So, I decided to switch to the squirrel plugin: squirrel opens your program during the installation, allowing it to perform some checks and steps, and during uninstall, allowing it to clean up after itself.
Ts-node
ERB by default while in development uses ts-node to run your main code, while it serves your render code with a webpack server. This has some irregularities as ts-node does not have the same behavior as webpack. So, I changed that: now the dev environment uses webpack, exactly as the prod environment.
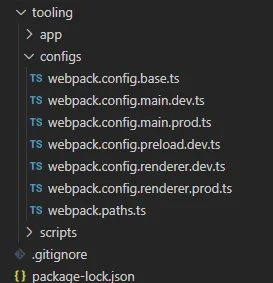
These changes, as many other, necessitated me fiddling with the beast. Or as it's more usually known, the webpack configuration. I was hesitant going in: after all, the entire existence of some frameworks is based on the fact that creating and mantaining a bundler configuration is an astoundingly difficult task for the mere mortal, and who was I to challenge that notion?
But alas, after many tribulations, I was finally able to tame the beast and was left with a working, and dare I say good, webpack setup.
Tools
Ok so we established that LB Toolkit is just a big collection of useful computer tools. But what exactly are those oh-so-useful tools? Well, thanks for asking.
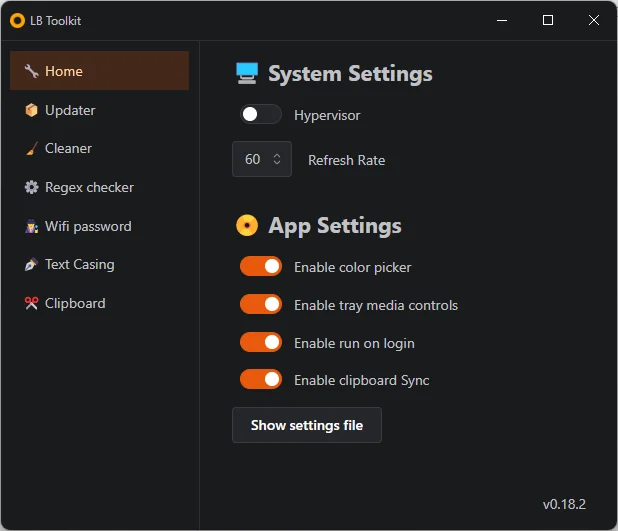
System Settings
There are some parts of an operating system that are tucked away, far from the curious eyes of the mortal user that could damage something using them. But for some of us they're useful, aren't they? So the fact that they're tucked away somewhere is kind of irritating for me.
I'm specifically talking about the Hypervisor. A system wide virtualization platform, that can be turned on (breaking "classic" virtualization), or turned off (breaking some very useful tools, like WSL). The easiest way to turn it on or off is by executing a command in an elevated command prompt, so not exactly the most user friendly.
Another useful (for me) setting that's tucked away inside some menus is the refresh rate of the monitor. This requires you to navigate to the advanced display settings in the settings app, so not exactly unreachable, but is still takes a few clicks.
To alleviate these pains, the home screen of LB Toolkit features a toggle and a switch, that allow you to change these settings.
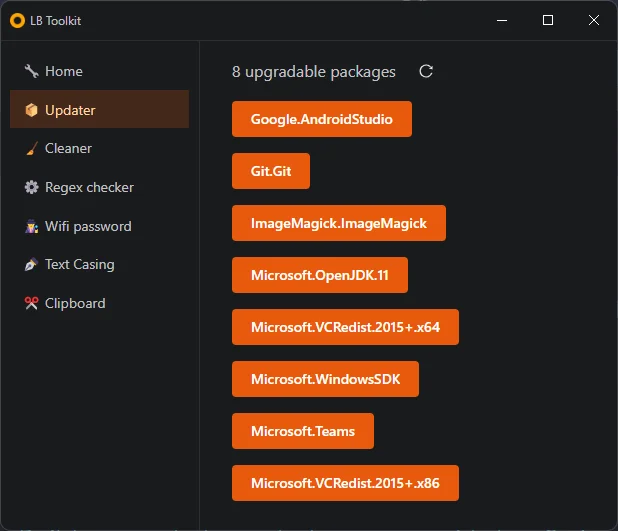
Updater
This is more an experiment than anything else. To understand this tool, you need to understand my habit of compulsively looking for and installing any update that's available for my installed software. It makes me feel all warm and fuzzy inside.
To do this I've recently started using winget, a command line tool to install and update software, provided by none other than Microsoft. Being a command line tool, it's not the most user friendly or the fastest to use, so I set off to change that.

The first step was to find a way to get the data from winget to my app. It turns out that winget is very parsing unfriendly, first and foremost because it always prints loading bars and spinners to the stdout. After some fiddling, I was finally able to make it behave, and by querying the available updates I was able to show the user a list of available package updates. When clicked on, each button launches winget upgrade with the appropriate package name.
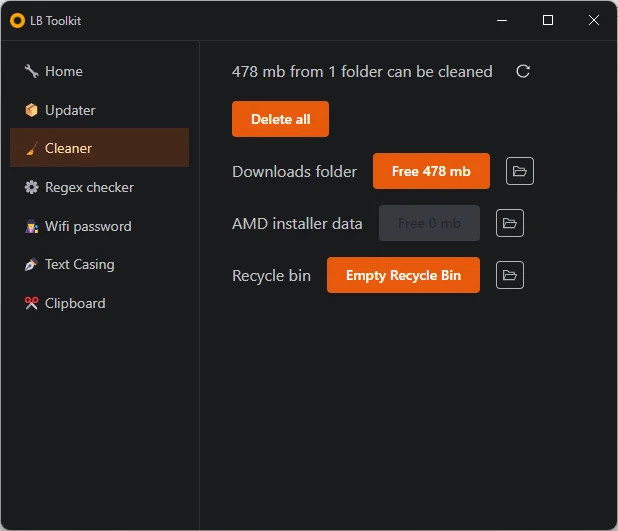
Cleaner
We all have some folders in our machines that get unnecessarily full with files, filling our drives unnecessarily. Or it's just me? Well, fine.
Still, a simple tool that measures and, when asked, deletes the contents of some particular folders is a simple way to keep that at bay. It currently only lists the download and AMD driver installer folders, but I plan on making it more flexible, allowing the user to add folders to watch without having to recompile the app.
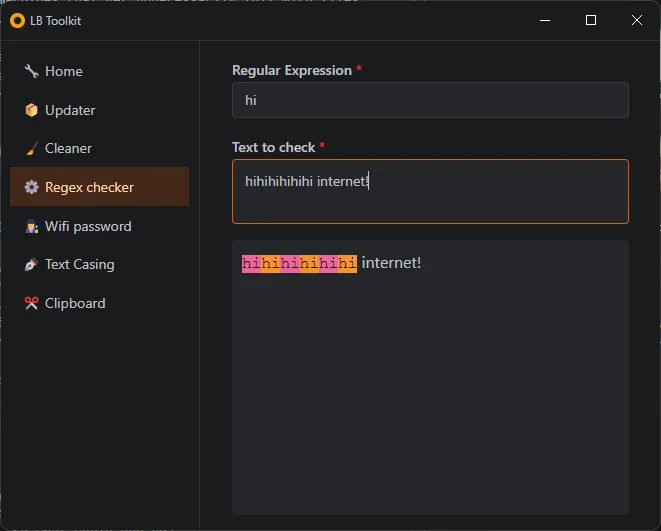
Regex Checker
Every time I have to write a regular expression it's like the first time: I have no idea what I'm working with and I 100% rely on the internet to find my way around it. There are some very useful tools, like regexr, that help you write and validate a regular expression in real time. To avoid having to find one online every time, I decided to build one in my toolkit, and it also served as a way to practice a bit with regexes, in the (vain) hope that something would stick. In case you were wondering, it has not, but from now on I'll have a tool to help me.
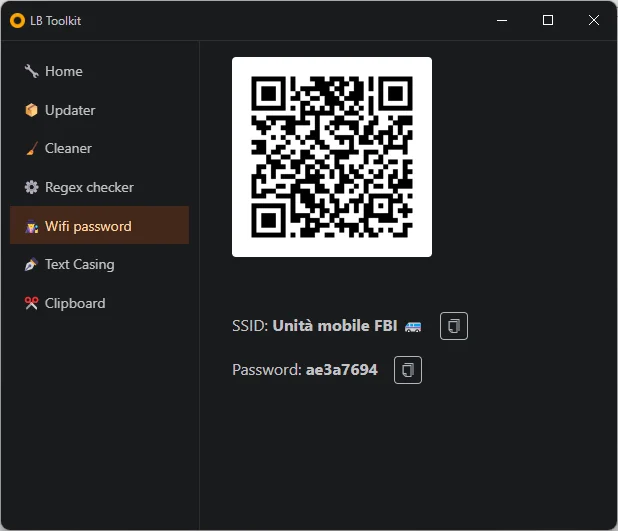
Wifi Password
There always comes a time when you want to connect your device to the wifi but you don't remember the password. Maybe it's an old device that does not support connecting by scanning a qr code. So, what would you do?
Again, windows has a somewhat obscure way to show the password, but every time I have to find it from scratch. So I built one in my toolkit! The tool will show you the ssid, the password, and even generate a qr code to scan, if your device supports it.
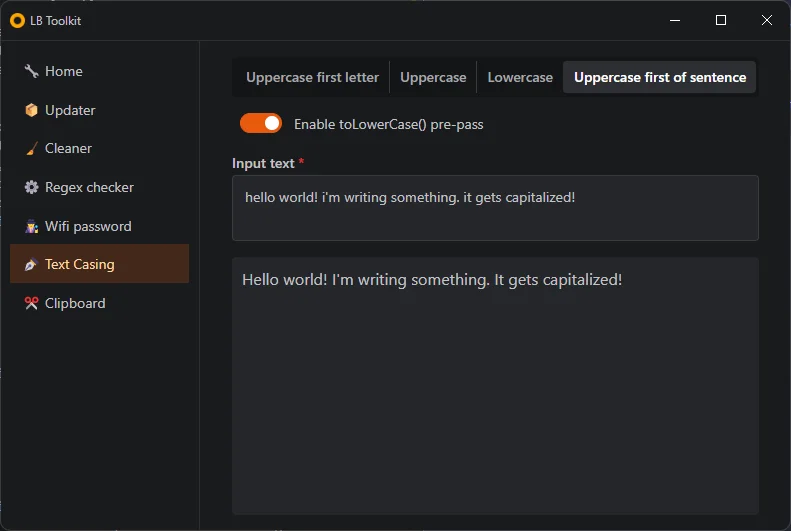
Text Capitalization
This tool is nothing more than a personal revenge for me: I've always struggled to find the capitalization and casing inside Word. I've maybe needed it once or twice a year in the past, but damn if my need has been unanswered. But no more! This simple tool allows me to capitalize in the way I want my text.
Clipboard
Finally, some good stuff. This tool comes from a need that I'm sure many people share: the need to have access to the same data from both your phone and your computer. There are, and have been, many solutions and projects to achieve this, but not one (that I've tried) has worked quite the way I'd like it to.
So? Well, first of all I started by looking at what was the concrete use case that I was trying to solve: I need to pass something, usually some text, from my pc to my phone, or vice versa. To solve this, I usually just create a new note on Google Keep and then open it from the other device. So, every solution that is faster and easier than opening the same app on two devices, pasting some data, and then copying it back will suffice.
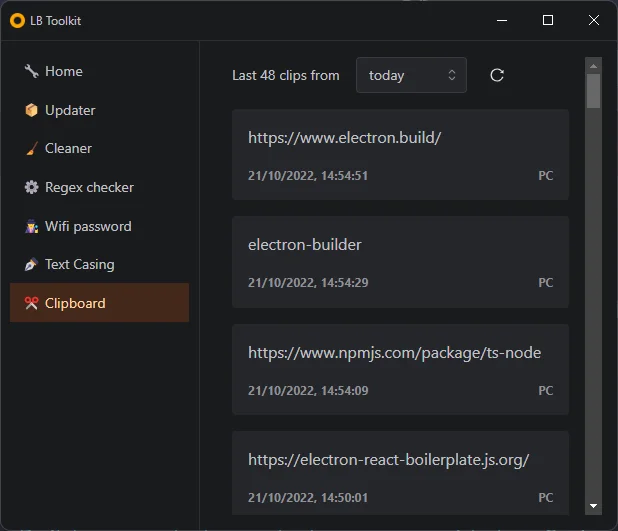
The idea that I came up with was to hijack the clipboard system, on both platforms: on pc I can easily just listen to every copy event and read the contents of the clipboard, sending it right to a server. On mobile, to avoid complications and battery drain, I simply paste the contents of the clipboard to a text field on start of an app, that can be sent to a server with a single tap. On both platforms, I have access to a log of all the uploaded clipboards entries, and I can easily re-copy them by clicking.
The new solution looks like this: if I need to send something to my phone, I just copy it on my PC and then find it waiting for me once I open the app on the phone. If I need to send something back, I just open the app on the phone and I will find the contents of my clipboard ready to be sent, and they will be ready for me once I open the right section of the app on my PC. I also added a keyboard shortcut that opens a floating window with a simplified view of the app, for ease of use.
A quick note on the android app: it's a React Native application, my first one in fact!
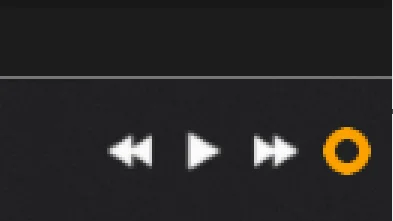
Taskbar Media Controls
A tool I've found very useful in the last few years has been TaskPlay. So naturally I had to recreate the functionality in my toolkit. Nothing to add here, it looks and works exactly like it should.
Color picker
As I've written in the introduction, another tool I've been frequently using is the color picker in PowerToys. Since that's the only tool I've been using from its program, I figured it would be a good idea to include it in LB Toolkit as well. Unfortunately, there are some limitations in my implementation, mainly that it only supports picking a color from the main screen. Still, it's completely usable.
End touches
When opening the app, be it from the taskbar icon or a shortcut, launch time and appearance is important to the overall look and feel. During its early days, the app used to do what many electrons apps do and flashed an aero basic theme window, before displaying the first, empty, window. Then it started loading, and the content would appear. These flashes, two in total, disrupted the launch process and made it look like the app was unfinished and slow, even though it started in less than a second.

To avoid this, I took two measures: I made sure that the Electron window background was the same as the application's background color, and I told the window not to show itself from the get-go, instead waiting for a signal from React that it was done rendering the first page. This makes for a pretty good launch experience, without any visible flashing.
Read more
If you're interested in the implementation, or you want to try it for yourself, here you can find the repositories:
LB Toolkit Electron App
LB Toolkit Companion Clipboard Android App